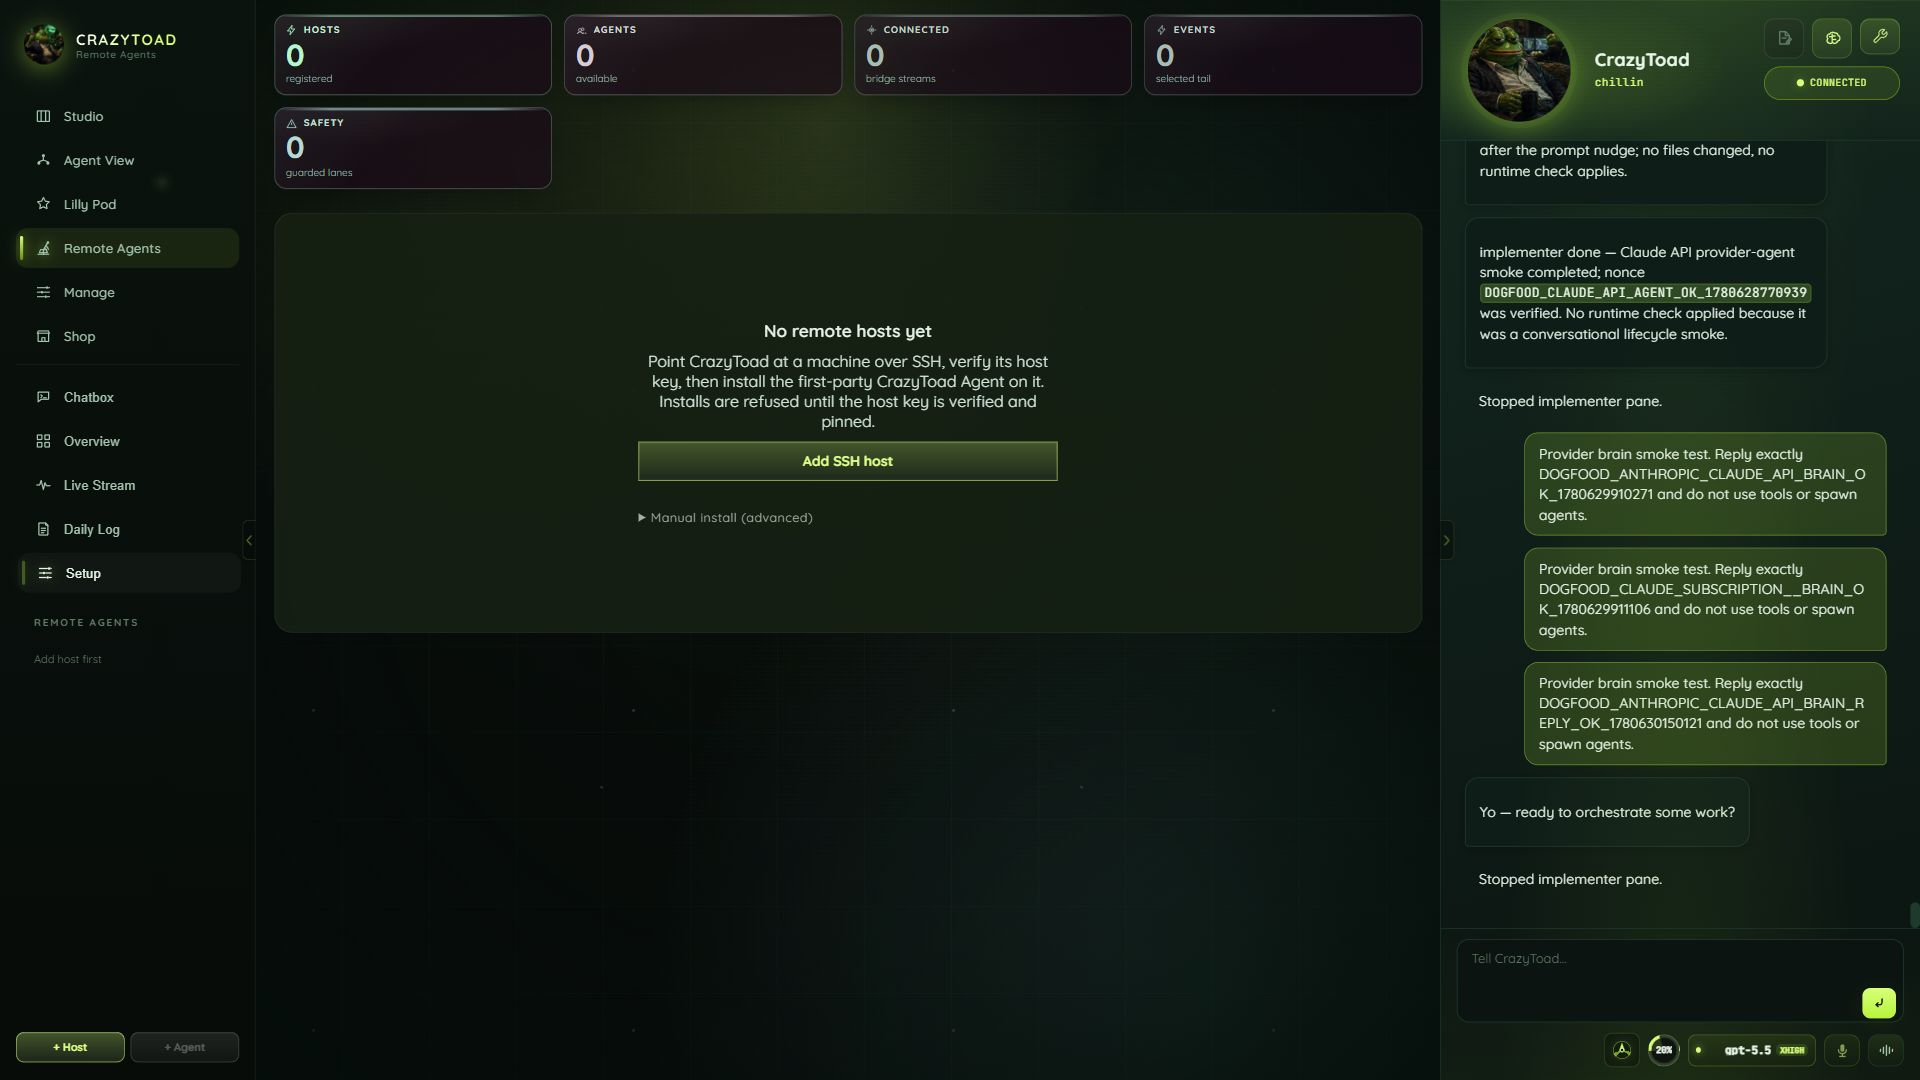
Open Remote Agents → Setup
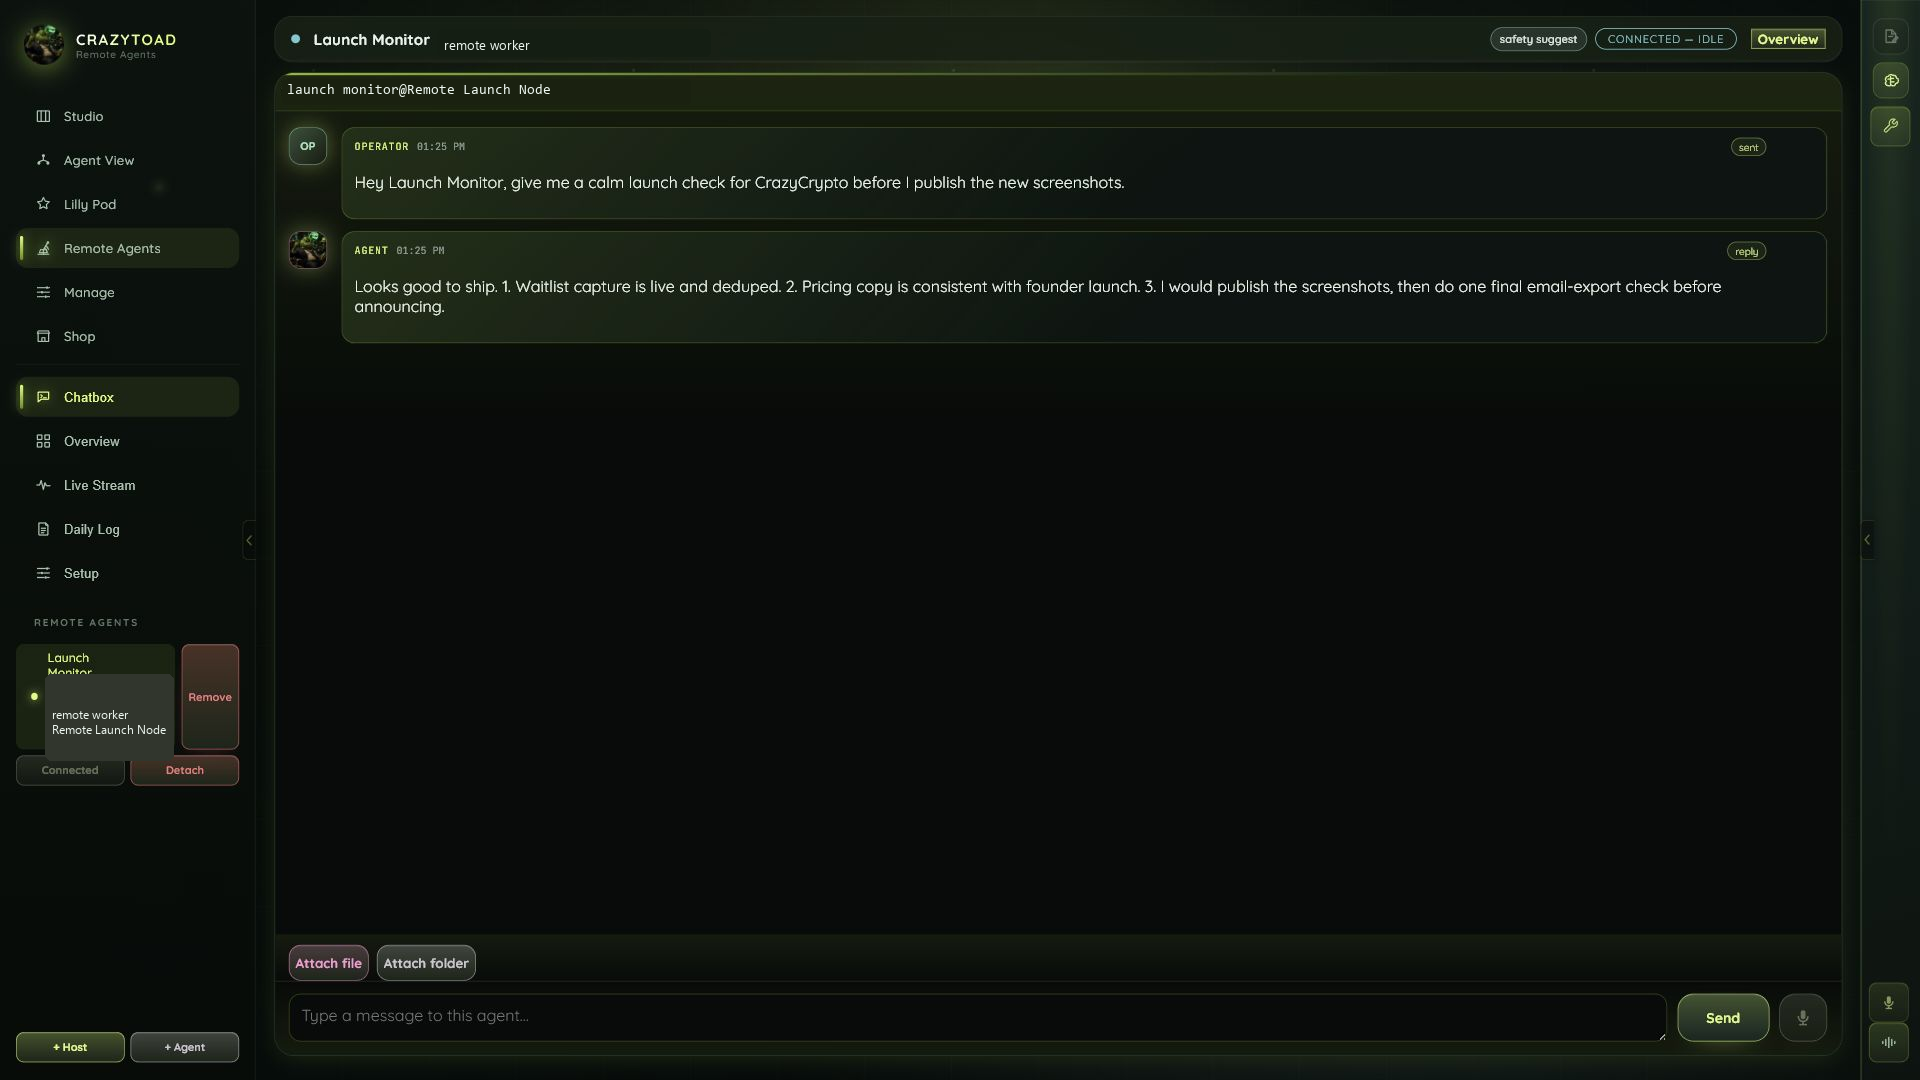
In CrazyToad, open Remote Agents and click the Setup rail item. With nothing configured you'll see "No remote hosts yet" — the empty state explains the flow: point CrazyToad at a machine over SSH, verify its host key, then install the first-party CrazyToad Agent on it. Installs are refused until the host key is verified and pinned. The two screenshots below show the chatbox you'll drive the agent from and the Setup screen you're about to fill in.
You need SSH access to the box and a private SSH key — password auth is not supported.
Register the machine, then let CrazyToad verify and pin the host key. Nothing installs until that pin succeeds.
For a managed agent, install the binary at /usr/local/bin/crazytoad-agent — the dialog can do it for you, or you can run the commands manually.
Pick how autonomous the agent is — observe, suggest, approve, or auto-limited — and list any protected paths it must pause on.
Add an SSH host
Click Add SSH host to open the "Add remote host" dialog. Auth is SSH private key only — there is no password field. On Save, CrazyToad stores the host, then verifies and pins its host key before any install is allowed.
Enter a Name. This becomes the host id used everywhere else in Remote Agents.
Fill in SSH host (hostname or IP), Port (defaults to 22), and the User to connect as.
Under Stored key, pick a key already saved in Manage, or choose "Paste new key…" to add one now.
Either enter an existing vault Key id, or leave it blank and paste a key below with a New key label so CrazyToad saves it.
Click Save. CrazyToad connects, verifies the host key, and pins it. Until that succeeds, no agent can be installed on this host.
22.-----BEGIN OPENSSH PRIVATE KEY-----.Install the CrazyToad Agent
Open the "Install CrazyToad Agent" dialog. Choose the managed install to let CrazyToad provision the agent for you, or a generic log tail if you only want to read logs. The managed agent streams health and activity, answers Chatbox messages, exposes MCP listings, and self-tests stream, chat, MCP, and config before it connects.
Enter a Name for this agent and pick the Host you added in Step 1. The list shows free slots as Name (N/2 agent slots).
Choose "CrazyToad Agent (managed install)" for a full managed agent, or "Generic log tail (no agent install)" to attach without installing anything.
Pick a connected account under LLM account to drive the agent's reasoning. Subscription accounts render disabled — use an API or local account.
Keep the default Bridge command and Message command unless your install path differs. The bridge command must be an absolute path.
Use Persona to author the agent's system prompt — how it should behave and what it's responsible for.
/usr/local/bin/crazytoad-agent stream./usr/local/bin/crazytoad-agent chat -q {{message}}.{{message}} placeholder in the Message command — that's where your Chatbox text is inserted.Prefer the command line? Manual install
If you'd rather provision the agent yourself, run these from your CrazyToad checkout. They copy the agent and run the provisioning script, which installs a hardened systemd service. Replace HOST and root with your own host and user.
scp deploy/remote-agent/agent.py root@HOST:/tmp/crazytoad-agent.py
ssh root@HOST 'bash -s' < deploy/remote-agent/provision.sh
Back in CrazyToad, add the host in the dialog (Step 1) so CrazyToad can attach to the service you just provisioned.
crazytoad.remote-agent.v1 — newline-delimited JSON with a 15s heartbeat. Once attached, the Brain management panel catalogs the agent's brain connections (MCP, API, Docs, Other) and shows each as live, planned, or error.Set the run envelope
The run envelope is a safety ladder — four rungs from least to most autonomy. Start low and raise it only as you trust the agent. Whatever rung you pick, list Protected paths the agent must always pause on.
Watches only — never changes anything. Safest starting point.
Plans and proposes — you run the changes yourself.
Acts, but pauses for your OK on risky work.
Runs routine work alone — stops at protected paths.
/etc/**, **/.env./etc/** and **/.env to fence off config and secrets.